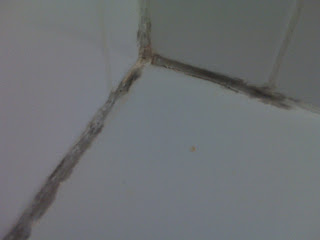
Two projects in one post: recaulking the master bathroom and putting in caulk in the kitchen for the backsplash.
The kitchen previously didn't have caulk sealing the back splash, so I put in a clear silicon caulk bead to seal that area off. The pre-pictures, which I don't have, would have shown that the back splash bead board was getting messy in a few areas where it was getting a lot of water. I sanded that clean, repainted the entire back splash and then sealed off the gap between the counter top / back splash and bead board.
I found with the bead board that you can use any of the smaller sized rollers to get 98% of the work done, but you'll want to use a brush to get paint in the cracks or else they'll look funky.
The master bathroom (MBA) was a challenge for getting the old caulk off. They put an extremely thin bead of caulk on, so I was constantly scraping at the grout. My knuckles took the brunt of the punishment for that. Once I got the old caulk scraped out as best as I could, I cleaned it twice to make sure there were no "ickeys" left, then prepped the surface with painter's tape.
I once previously put caulk down in a kitchen without tape, which I'll never do again. The tape obviously helps produce an extremely clean line, and all the little excess build ups of caulk don't end up on your walls either.
Key to removing the old caulk was working all the angles with the scraping tool (they make special plastic tools for this, use them, they are worth every cent). Don't use a screwdriver or exacto knife, you'll do damage to the tub or tile.


